As a foodie I think of food a LOT. I think of recipes when I see an ingredient, I think of ingredients when I see a recipe and I think of menus when somebody says meal. So basically like everyone in the food blogging community I’m thinking of food ALL THE TIME. But I couldn't imagine myself thinking about just ONE ingredient this much; it is almost like an obsession.
The ingredient I’ve been obsessed, worried and excited about is Sourdough starter. Now I understand why bakers obsess so much over it. Never have I thought that I’ll be one of them and will have nightmares over a starter!!!!
I was excited when I signed up for a bread baking class and was overjoyed to learn that I’ll be learning to make challah bread, multigrain bread and sourdough bread among others. Little did I know that I would come back with a baby to take care of, yes I came home with the dough mixture to make the sourdough starter and the instructions on how to feed and take care of it. After I started feeding 1 cup of flour every 12-24 hours, it didn’t occur to me that the starter is growing exponentially and by 3rd day the starter tripled in quantity and my worries to use it up also tripled. So I turned to our friend "google" and found a number recipes to use up the starter that is fed and unfed.Here are some terms to know and understand when dealing with sourdough starter.
Sourdough: Is a leaven consisting of dough in which fermentation is active. So basically sourdough is
like yeast that is used for leavening bread.
100% Hydration: Water amount is 100% of the flour amount. That means for every 8oz. of water in the sourdough starter, there is 8oz. of flour. So every time you feed the starter you add equal amounts of flour and water to the old dough to keep it 100% hydrated.
Fed Starter: Starter that is rejuvenated by adding flour and water up to 12 hours before making the bread.
Unfed Starter: Starter straight from the fridge.
There is a ton of information on the internet for sourdough starter making, feeding, taking care etc. My suggestion would be to use a good source that you can rely on; my go-to source is the material I got from the baking class and King Arthur website. Champa at Versatile Vegetarian Kitchen has excellent information on sourdough starter and yummy recipes to use both fed and unfed starters.
How to make Sourdough starter from Organic grated potato:
Ingredients:
Bread flour – 1 cup
Organic Potato – ½ cup, grated
Water – 1 c
From what I’ve learnt there are a number of ways of making sourdough starter: we used flour & grated potato in the class, but just flour and regular yeast can also be used (recipe at the very end of th
e post).
This post has been in my drafts forever. I couldn't take the pictures of the finished bread the 2 times I made it and have been waiting to make it again to take pictures and post, but that doesn't seem likely to happen any time soon, so I thought I'll post this and update with finished bread pictures later. :-)
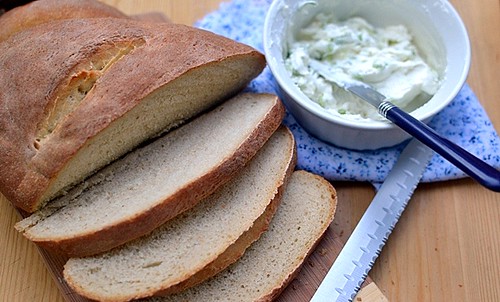
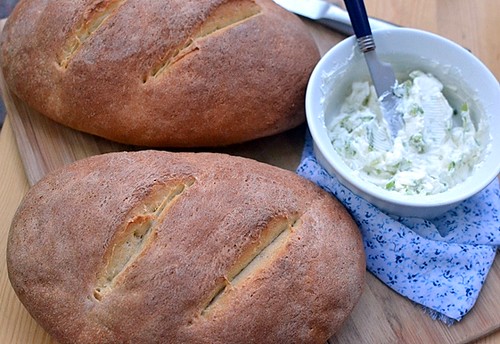
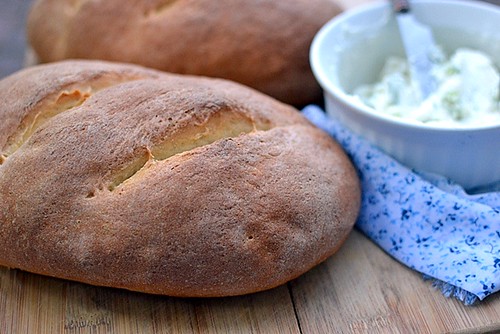
Update (7/29/2011): Updating the post with the recent sourdough bread that I made. Recipe is from here, but the resulting bread looks very similar.
Update (7/29/2011): Updating the post with the recent sourdough bread that I made. Recipe is from here, but the resulting bread looks very similar.
How to make Sourdough starter from Organic grated potato:
Ingredients:
Bread flour – 1 cup
Organic Potato – ½ cup, grated
Water – 1 c
up (plus more for feeding)
All purpose flour - for feeding
Method:
Note: Use only non-reactive containers to store the starter like porcelain, glass or plastic.


Method:
- Combine all the ingredients in a large bowl; cover and let rise at room temperature for 24 hours. After 24 hours, add 1 cup All purpose flour & 1 cup water.
- Stir and let stand at room temperature for 12 hours.
- Repeat this process two more times, adding the flour and water at 12 hour internals, mixing, covering and letting rise at room temperature.
- The starter is complete at this point.
So at this point you have a starter that has 4 cups of flour and 4 cups of water and grated potato. Most of the recipes call for 1 cup of starter, so make sure that you have at least 1 cup of starter at any given point. If you think you are running out of starter, add equal quantities of flour and water, mix well and refrigerate until you are ready to make a bread.
Once you have the ripe or fed starter, you are good to go on your baking spree. The method I used as you can see doubles and triples in volume while making the starter, so it is beneficial if a group of friends make this, but for a solo-baker, it is a TON of starter. I tried to give it away to friends and colleagues, but couldn't find anybody who was interested. But the good thing about the starter is you can leave it in the fridge for couple of weeks without feeding and it is still good to use in some recipes that call for unfed starter. So for the first 2-3 weeks after I made the starter, all I did was bake with the starter. I kept about 1 cup aside for future feeding and baking and used up the rest in making pancakes, waffles, cakes etc.
Sourdough Bread:
So the first recipe I made with the fresh starter is basic Sourdough bread, recipe courtesy source material from Chef Central.
Ingredients:
Sourdough starter – 1 cup, fed
Bread flour – 3½ cups
Salt – 1tsp
Yeast – ½ tsp
Water – 1½ cups at room temperature
Method:
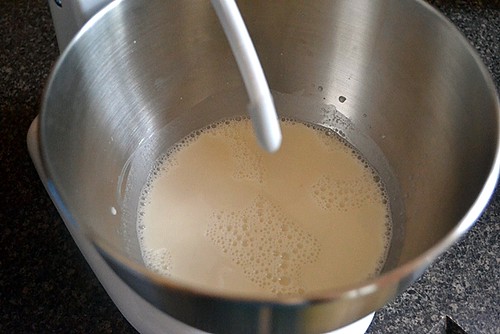
- Combine the starter, yeast and water and mix well in a stand mixer with the dough hook attachment.
- Add the flour and salt and mix on low speed. Increase the speed to medium and knead for 10-12 minutes.
- Add flour as needed to form smooth, pliable dough.
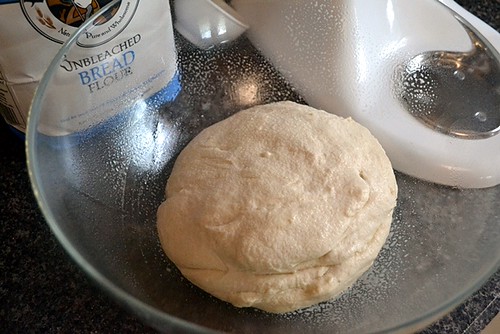
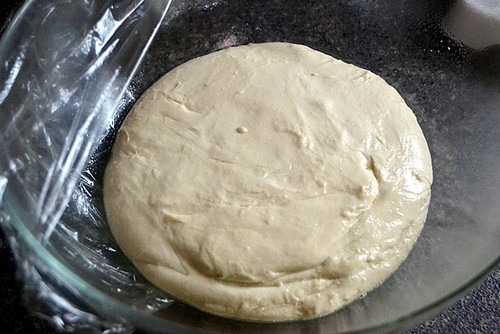
- Place in a greased bowl and let rise for 1 hour.
- Punch down and form into 2 round pieces. Place each piece in a greased bowl, seam side up. Let rise for 20-30 minutes.
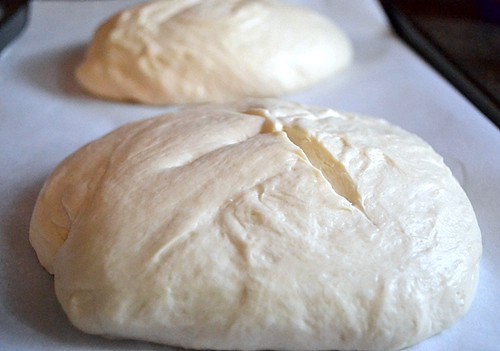
- Place each round on a baking sheet lined with parchment and score the top with a knife.
- Bake at 375°F for 20-30 minutes or until the top is crisp and brown and the loaves sound hollow when thumped on the bottom. Cool before slicing.
Ingredients:
All purpose Flour - 1 cup (plus more for feeding)
Quick rising yeast - ¼ tsp (such as Fleischmann's Rapidrise)
Method:
- Combine flour and yeast in a non-reactive bowl; stir in 1 cup of warm (110°F) water. Loosely cover the bowl and set aside at room temperature for 12 hours. Starter should get bubbly and smell yeasty.
- Stir starter, then discard half. Add ½ cup flour and ½cup of lukewarm water; mix well, cover and set aside for another 12 hours.
- Repeat the process of discarding half cup of starter and adding ½ cup each of flour and lukewarm water every 12 hours for 72 hours. (that is feeding twice every day for 3 days).
- Starter should be bubbly with pleasant sourdough aroma. Feed for an extra day (that 2 extra feedings) if you want a more pronounced sourdough flavor.
Filtered water is preferred instead of tap water while making the starter.

Sending this Sourdough bread over to Only Baked event which is Pari's brainchild and being hosted this month by Harini @ Tamalapaku.


Whoa..so much information in one post!! too good. I would love to have it for the event. I wish I could take a peek into the baked bread!!
ReplyDeleteI tried making sourdough starter a few weeks ago and failed abysmally. Thanks for these tips. Maybe I'll give it another attempt soon.
ReplyDeleteThanks Harini. I'll send it to your event soon.
ReplyDeleteRivki, give the starter another try, it might work the second time around.. Good luck.
Very informative post, Pavani.
ReplyDeleteawesome recipe dear...
ReplyDeletehttp://anuzhealthykitchen.blogspot.com/2011/07/event-berries-strawberry-desserts.html
chk out my space for this months Event on Berries ....hope to see some recipes from you----and a chance to guest host too!