Cook's Hideout

July 18, 2011

Panchadara Avakaya (Green Mango Pickle with Sugar)

I was never a big fan of mixing sweet and savory things. I wouldn’t eat a dish if I saw my mom adding sugar or jaggery to any dish. Sweet pickles, as you can imagine, were a big no-no. But now my palate appreciates the nuances of sweet and savory in a dish.
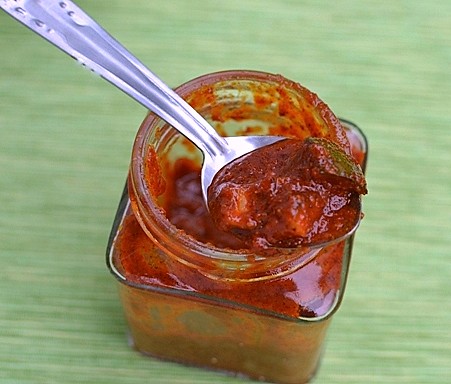
Avakaya1

When my dear cousin served us panchadara avakaya that her MIL made couple of years ago, I fell in love with it instantly. She gave me a bottle of pachadi last year that her MIL made while in the US and this year she decided to make it herself. So I followed suit and made this sweet, spicy and tangy avakaya. My cousin, the perfectionist that she is, sent me the detailed recipe with instructions on how to cut the mangoes and when to taste and adjust the seasonings.
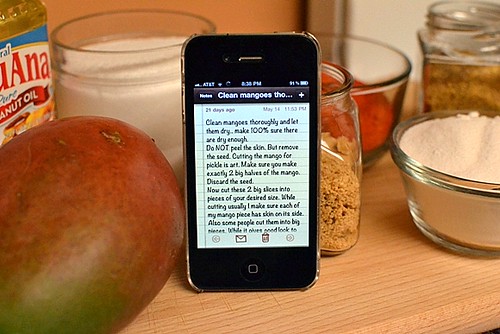
Instructions for Avakaya

Choosing the right mangoes for the pickle is the biggest challenge. Pick ones that look fresh and are bright green, medium sized, and should NOT be soft when touched. The first time I bought them, they looked green and all from outside, but when I cut into them they were yellow and squishy.

So I had to wait 2 more weeks to get the right mangoes. Big thanks to you, dear P and your MIL for this fool proof avakaya recipe.

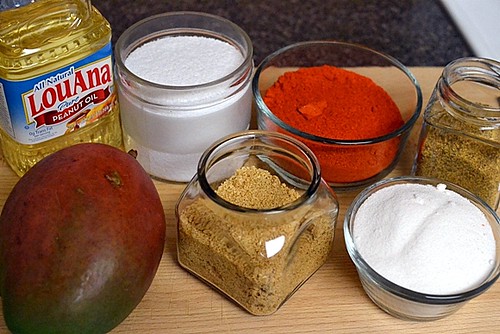
Ingredients:
Green mangoes – 2, medium sized
Sugar (panchadara) – 1 cup
Red chili powder for pickles – 1 cup (this chili powder is bright, vibrant red, but it is not very spicy hot and is available in most Indian grocery store)
Sesame seeds (nuvvulu)– 1¼ cups
Mustard seeds (aavalu) – ¼ cup
Fenugreek seeds (menthulu) – ¼ cup
Salt (uppu) – 1 cup
Peanut oil – 1 cup

Method:
  • Wash the mangoes well and dry them thoroughly. I left the washed mangoes covered with a dish towel on the counter for couple of hours to completely dry them.
  • Prep all the spices: Dry roast (without oil) sesame seeds until lightly browned on medium low heat. Set aside.
  • Dry roast fenugreek seeds and mustard seeds separately.
  • When all the spices are completely cool, grind each one separately; sesame seeds can be made into a coarse powder – too much grinding can make sesame paste, so keep checking. Mustard seeds tend to get bitter if ground too much, so be mindful of that.
  • Heat oil in a small saucepan until very hot, turn off the heat and let it cool completely.
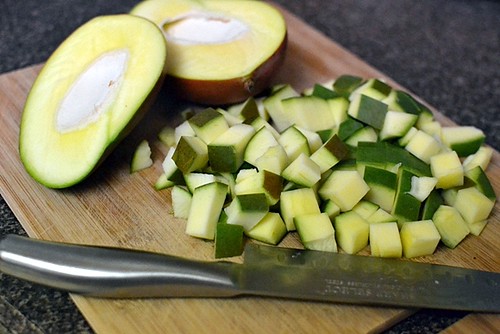
  • While the oil is cooling, start chopping the mangoes. Cut the mango into half lengthwise, this gets a little tricky if the seed is tough, so try to find the exact spot where the seed ends. Scoop out the seed and discard. Cube the mango into small bite size pieces. Try to make sure that each piece has the peel. Pat dry the pieces with a clean kitchen towel to make sure that there is no moisture on the pieces.
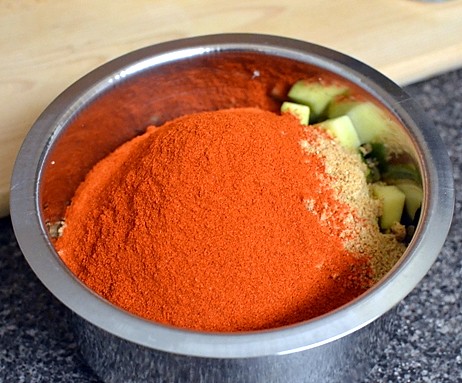
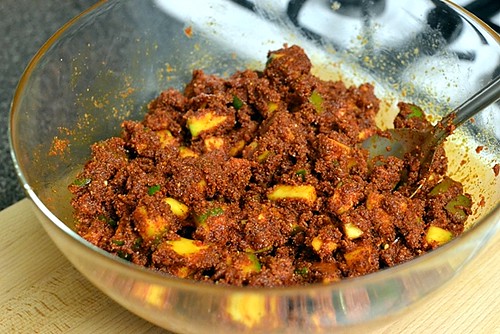
  • Take all the pieces into a large non-reactive container. Add sugar, salt, pickle chili powder, all of the roasted fenugreek and mustard powders, 1 cup of sesame powder (reserve the rest for later) and the cooled oil. Mix everything together.
  • At this point the pickle is a little thick, but as it sits the mangoes will ooze out their juices and will thin out over time. Cover tightly and let the pickle rest for 24 hours.
  • Taste the pickle and add more salt/ sugar/ chili powder or the reserved sesame powder if needed and let it sit for another 24 hours. If it tastes perfect after the 1st 24 hours then simply put the pickle into clean glass/ porcelain jars.
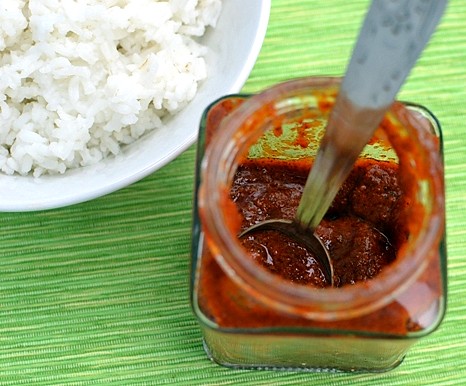
Avakaya2

I put the pickle in the fridge so it stays fresh longer, but if you are going to use it up in couple of weeks, leave it out on the shelf. Tastes amazing with steamed rice and ghee or with idlis/ dosas/ upma etc.

Pictorial of Avakaya Making:
Ingredients for Avakaya

Mangoes for Avakaya

Ingredients for Avakaya1


Avakaya


Sending this over to Aipi & Priya's "Bookmarked Recipes - Every Tuesday" event.


Signature

July 12, 2011

Chukkakura Pappu

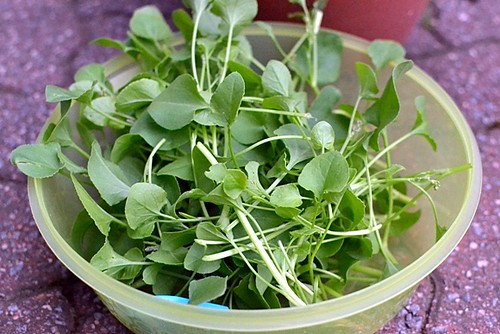
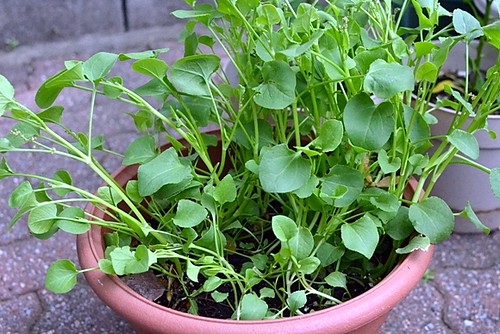
For the very first time this year, I planted couple of leafy greens, spinach (palakura) and sorrel spinach (chukkakura), in my container garden.

Chukkakura

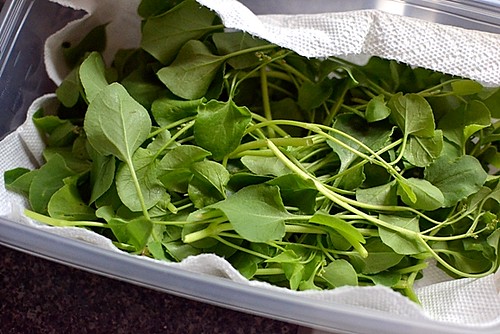
My mom sent the seeds from India and I was pleasantly surprised that the greens started to grow within a week and were ready for harvesting in less than 3 weeks.

Chukkakura1

It has been ages that I had chukkakura pappu (dal), so one call to Amma and in 10 minutes I was I making this healthy & delicious with my first harvest. Chukkakura has a slight tangy taste and tastes great in dals and chutneys.

Ingredients:
Toor dal – 1 cup
Chukkakura (Sorrel spinach) – 2 cups, finely chopped (fine stems can be chopped up too)
Onion – 1 medium, chopped
Tomato – 2, finely chopped
Green chilies – 2, slit
Red chili powder – ½ tsp
Turmeric – ¼ tsp
Salt – to taste

For tempering:
Mustard seeds – ½ tsp
Cumin seeds – ½ tsp
Dry red chilies – 1, broken into half
Hing (asafetida) – a pinch
Curry leaves – 8

Chukkakura2
Method:
  • Cook toor dal in a pressure cooker until very soft and mushy. Keep aside.
  • In a medium sauce pan, heat 2tsp oil, add the tempering ingredients in the order listed and once the seeds start to splutter, add onions and green chilies. Sauté until onions are translucent.
  • Next add chopped tomatoes, cover and cook till they turn mushy.
  • Next add the chopped sorrel spinach and cook till the leaves wilt.
  • Add red chili powder and salt.
  • Finally add the cooked dal, mix well and simmer for 3-4 minutes for the flavors to mingle. Add water if dal seems too thick while cooking.
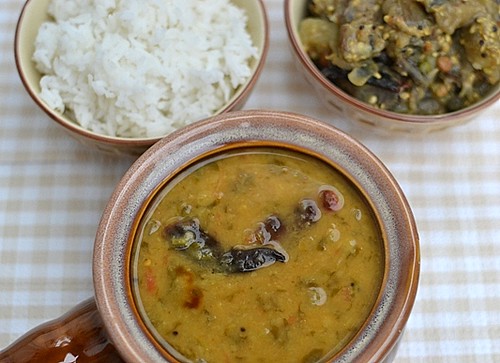
Chukkakura pappu

Serve with hot steamed rice and a dry curry of choice. I served with some vankaya kura (eggplant curry). Comforting meal any time of the day.


Sending this over to Aipi's "Bookmarked Recipes-Every Tuesday" event.


Signature

July 09, 2011

Cinnamon Sticks

This is a recipe that my sister, who lives in India, wanted me to make since her hubby really likes Cinnamon sticks. I looked for recipes online and found this recipe on King Arthur’s website. Recipe seemed simple to make with very few ingredients that are easily available in India. But she wanted the recipe to be eggless, so I substituted the egg with egg-replacer.

I sent my sister detailed pictures on how to make the cinnamon sticks along with KAF recipe. She tried them and reported back saying that the taste was great. Personally I thought the cinnamon sticks were a little too buttery, but my husband and my BIL seemed to like them. I halved the recipe from the original.

Cinnamon Sticks

Ingredients:
All purpose flour – 1cup
Sugar – 1½ tsp
Salt – ½ tsp
Butter – ½ cup or 1 stick (4 oz.), softened to room temperature
Milk – 1tbsp
Egg-replacer powder – 1½ tbsp (original recipe used 1 egg, since I halved the recipe, I used half of the required egg-replacer)
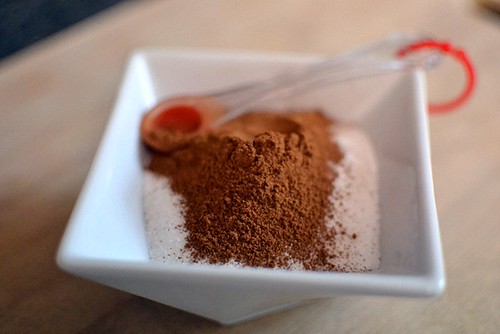
Cinnamon – 2tbsp
Granulated Sugar – ¼ cup
Milk or cream – to brush the pastry

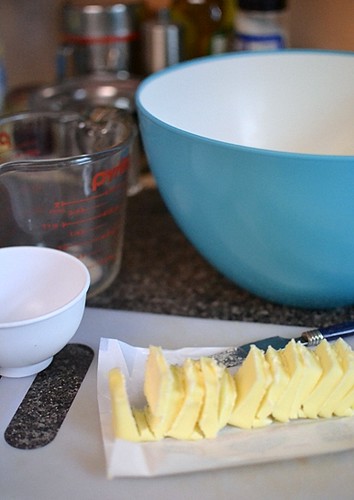
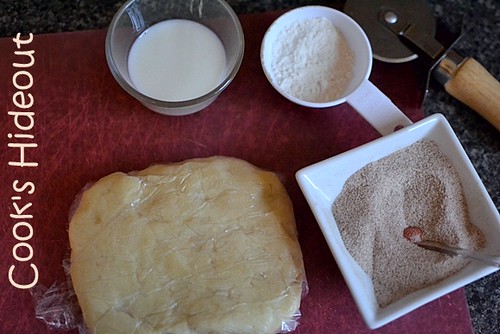
Cinnamon Sticks-Ingredients
Method:
  • Whisk flour, sugar and salt in a medium bowl. Work in the butter into the flour mixture until it forms crumbles and holds shape when squeezed.
  • Whisk egg-replacer powder and milk in a small bowl and add to the flour mixture and mix just until everything is cohesive.
  • Roll the dough and pat into a 3”x5” rectangle; wrap in plastic and refrigerate it for an hour or for up to 2 days.
  • Preheat the oven to 350°F. Line a baking sheet with parchment paper. Remove the dough onto a lightly floured surface and roll it out into a 10” x 15” rectangle about 1/8” thick.
  • Brush half of the lengthwise surface (i.e. the 5” x 15” strip) with milk/ cream and sprinkle cinnamon sugar** evenly all over. Fold the unfilled side of the pastry over the filled side and press the edges lightly.
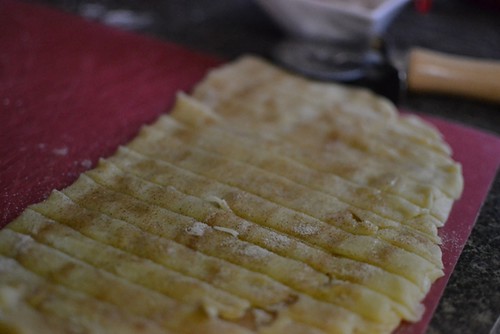
  • Brush the resulting 5”x15” pastry with milk/ cream and sprinkle the remaining cinnamon sugar. Using a pizza cutter or a sharp knife, cut the pastry crosswise into ½” strips that are 5” long.
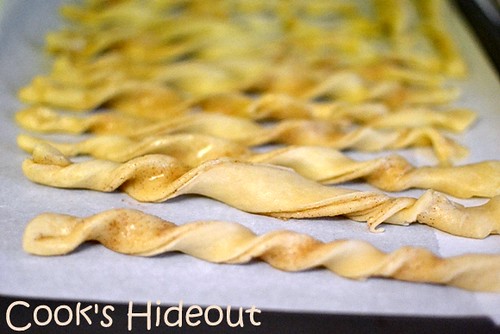
  • Hold the strip on each end and twist them to give them the characteristic “cinnamon stick” shape.
  • Place them on a prepared baking sheet and bake the cinnamon sticks for 25-30 minutes or until golden brown.
Remove from the oven and after couple of minutes, place them on a wire rack to cool completely. Enjoy with your evening cup of tea or coffee.

Cinnamon Sugar
**Note: To make cinnamon sugar sugar, simply mix the 2tbsp cinnamon with 1/4 cup of granulated sugar.

Cinnamon Sticks making pictorial:

Cinnamon Sticks4

Cinnamon Sticks3

Cinnamon Sticks2

Cinnamon Sticks1


Sending these Cinnamon sticks over to Harini for her "Only Baked" event. Only baked is the brain child of Pari @ Foodelicious.

July 06, 2011

Sourdough 101 & a Sourdough Bread

As a foodie I think of food a LOT. I think of recipes when I see an ingredient, I think of ingredients when I see a recipe and I think of menus when somebody says meal. So basically like everyone in the food blogging community I’m thinking of food ALL THE TIME. But I couldn't imagine myself thinking about just ONE ingredient this much; it is almost like an obsession.
The ingredient I’ve been obsessed, worried and excited about is Sourdough starter. Now I understand why bakers obsess so much over it. Never have I thought that I’ll be one of them and will have nightmares over a starter!!!!
I was excited when I signed up for a bread baking class and was overjoyed to learn that I’ll be learning to make challah bread, multigrain bread and sourdough bread among others. Little did I know that I would come back with a baby to take care of, yes I came home with the dough mixture to make the sourdough starter and the instructions on how to feed and take care of it. After I started feeding 1 cup of flour every 12-24 hours, it didn’t occur to me that the starter is growing exponentially and by 3rd day the starter tripled in quantity and my worries to use it up also tripled. So I turned to our friend "google" and found a number recipes to use up the starter that is fed and unfed.
Rustic Sourdough Bread

Here are some terms to know and understand when dealing with sourdough starter.

Sourdough: Is a leaven consisting of dough in which fermentation is active. So basically sourdough is
like yeast that is used for leavening bread.
100% Hydration: Water amount is 100% of the flour amount. That means for every 8oz. of water in the sourdough starter, there is 8oz. of flour. So every time you feed the starter you add equal amounts of flour and water to the old dough to keep it 100% hydrated.
Fed Starter: Starter that is rejuvenated by adding flour and water up to 12 hours before making the bread.
Unfed Starter: Starter straight from the fridge.
There is a ton of information on the internet for sourdough starter making, feeding, taking care etc. My suggestion would be to use a good source that you can rely on; my go-to source is the material I got from the baking class and King Arthur website. Champa at Versatile Vegetarian Kitchen has excellent information on sourdough starter and yummy recipes to use both fed and unfed starters.

From what I’ve learnt there are a number of ways of making sourdough starter: we used flour & grated potato in the class, but just flour and regular yeast can also be used (recipe at the very end of th
e post).

This post has been in my drafts forever. I couldn't take the pictures of the finished bread the 2 times I made it and have been waiting to make it again to take pictures and post, but that doesn't seem likely to happen any time soon, so I thought I'll post this and update with finished bread pictures later. :-)


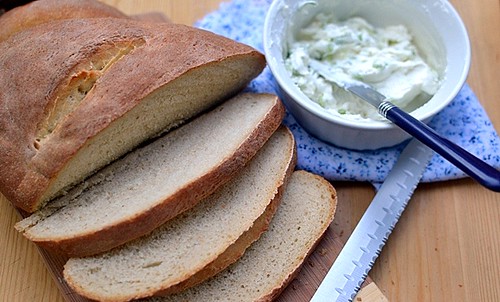
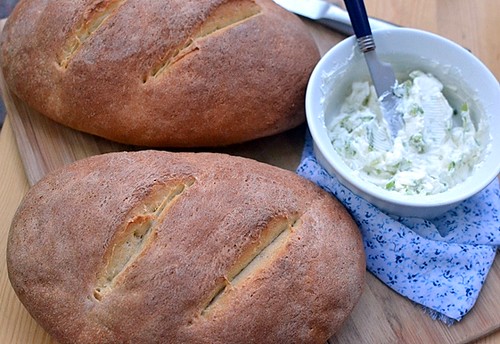
Update (7/29/2011): Updating the post with the recent sourdough bread that I made. Recipe is from here, but the resulting bread looks very similar.

Rustic Sourdough Bread1

How to make Sourdough starter from Organic grated potato:
Ingredients:
Bread flour – 1 cup
Organic Potato – ½ cup, grated
Water – 1 c
up (plus more for feeding)
All purpose flour - for feeding

Method:
  • Combine all the ingredients in a large bowl; cover and let rise at room temperature for 24 hours. After 24 hours, add 1 cup All purpose flour & 1 cup water.
  • Stir and let stand at room temperature for 12 hours.
  • Repeat this process two more times, adding the flour and water at 12 hour internals, mixing, covering and letting rise at room temperature.
  • The starter is complete at this point.
Sourdough Bread1

So at this point you have a starter that has 4 cups of flour and 4 cups of water and grated potato. Most of the recipes call for 1 cup of starter, so make sure that you have at least 1 cup of starter at any given point. If you think you are running out of starter, add equal quantities of flour and water, mix well and refrigerate until you are ready to make a bread.

Once you have the ripe or fed starter, you are good to go on your baking spree. The method I used as you can see doubles and triples in volume while making the starter, so it is beneficial if a group of friends make this, but for a solo-baker, it is a TON of starter. I tried to give it away to friends and colleagues, but couldn't find anybody who was interested. But the good thing about the starter is you can leave it in the fridge for couple of weeks without feeding and it is still good to use in some recipes that call for unfed starter. So for the first 2-3 weeks after I made the starter, all I did was bake with the starter. I kept about 1 cup aside for future feeding and baking and used up the rest in making pancakes, waffles, cakes etc.

Sourdough Bread:
So the first recipe I made with the fresh starter is basic Sourdough bread, recipe courtesy source material from Chef Central.

Ingredients:
Sourdough starter – 1 cup, fed
Bread flour – 3½ cups
Salt – 1tsp
Yeast – ½ tsp
Water – 1½ cups at room temperature

Method:
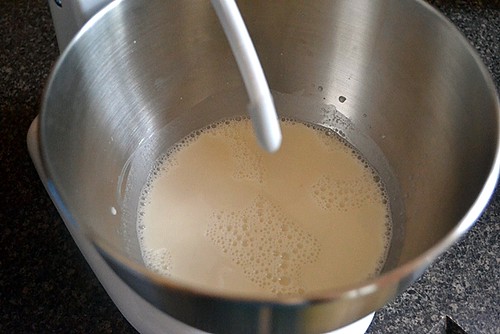
  • Combine the starter, yeast and water and mix well in a stand mixer with the dough hook attachment.
  • Add the flour and salt and mix on low speed. Increase the speed to medium and knead for 10-12 minutes.
  • Add flour as needed to form smooth, pliable dough.
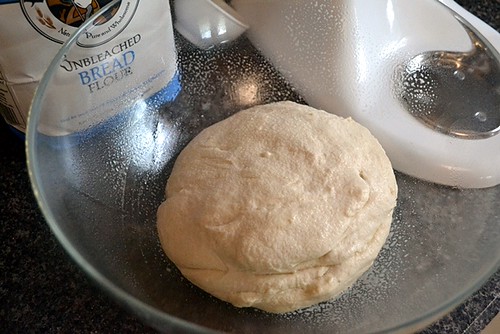
  • Place in a greased bowl and let rise for 1 hour.
  • Punch down and form into 2 round pieces. Place each piece in a greased bowl, seam side up. Let rise for 20-30 minutes.
  • Place each round on a baking sheet lined with parchment and score the top with a knife.
  • Bake at 375°F for 20-30 minutes or until the top is crisp and brown and the loaves sound hollow when thumped on the bottom. Cool before slicing.
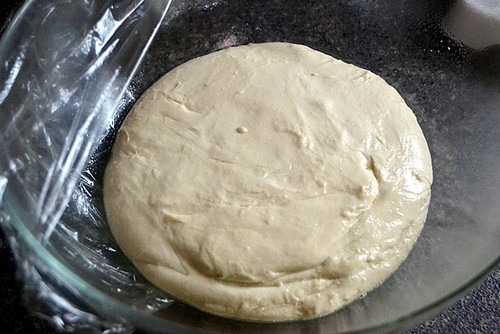
Sourdough Bread-Before Rise

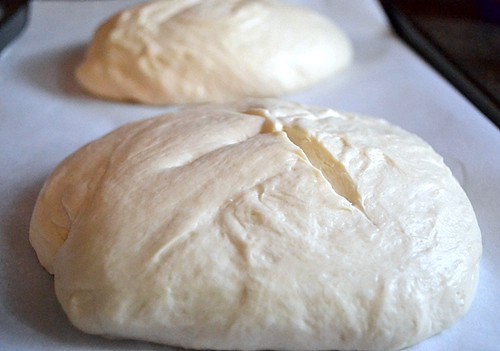
Sourdough Bread-After Rise

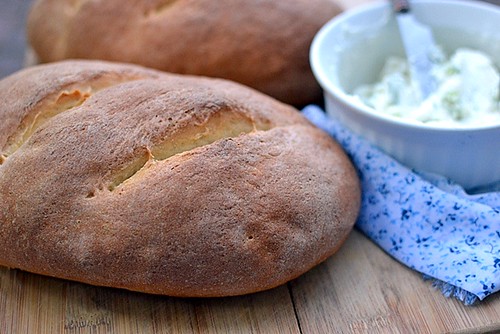
Sourdough Bread

Rustic Sourdough Bread2

Shortcut Sourdough starter from Yeast (recipe courtesy from Vegetarian times magazine):

Ingredients:
All purpose Flour - 1 cup (plus more for feeding)
Quick rising yeast - ¼ tsp (such as Fleischmann's Rapidrise)

Method:
  • Combine flour and yeast in a non-reactive bowl; stir in 1 cup of warm (110°F) water. Loosely cover the bowl and set aside at room temperature for 12 hours. Starter should get bubbly and smell yeasty.
  • Stir starter, then discard half. Add ½ cup flour and ½cup of lukewarm water; mix well, cover and set aside for another 12 hours.
  • Repeat the process of discarding half cup of starter and adding ½ cup each of flour and lukewarm water every 12 hours for 72 hours. (that is feeding twice every day for 3 days).
  • Starter should be bubbly with pleasant sourdough aroma. Feed for an extra day (that 2 extra feedings) if you want a more pronounced sourdough flavor.
Note: Use only non-reactive containers to store the starter like porcelain, glass or plastic.
Filtered water is preferred instead of tap water while making the starter.


Sending this Sourdough bread over to Only Baked event which is Pari's brainchild and being hosted this month by Harini @ Tamalapaku.


Signature

LinkWithin

Related Posts Widget for Blogs by LinkWithin
Blogging tips